SLURM Standalone on Alces Cloud
Launch Login Node
To set up a cluster, you will need to import a Flight Solo image.
Before setting up a cluster on Alces Cloud, there are several required prerequisites:
- Your own keypair
- A network with a subnet and a router bridging the subnet to the external network
- A security group that allows traffic is given below (if creating the security group through the web interface then the "Any" protocol will need to be an "Other Protocol" rule with "IP Protocol" of
-1)
| Protocol | Direction | CIDR | Port Range |
|---|---|---|---|
| Any | egress | 0.0.0.0/0 | any |
| Any | ingress | Virtual Network CIDR | any |
| ICMP | ingress | 0.0.0.0/0 | any |
| SSH | ingress | 0.0.0.0/0 | 22 |
| TCP | ingress | 0.0.0.0/0 | 80 |
| TCP | ingress | 0.0.0.0/0 | 443 |
| TCP | ingress | 0.0.0.0/0 | 5900-5903 |
Note
The "Virtual Network CIDR" is the subnet and netmask for the network that the nodes are using. For example, a node on the 11.11.11.0 network with a netmask of 255.255.255.0 would have a network CIDR of 11.11.11.0/24.
-
Launch a login node with a command similar to the following:
$ openstack server create --flavor p1.small \ --image "Flight Solo VERSION" \ --boot-from-volume 16 \ --network "mycluster1-network" \ --key-name "MyKey" \ --security-group "mycluster1-sg" \ --user-data myuserdata.yml \ login1-
Where:
flavor- Is the desired size of the instanceimage- Is the Flight Solo image imported to Alces Cloudboot-from-volume- Is the size of the system disk in GBnetwork- Is the name or ID of the network created for the clusterkey-name- Is the name of the SSH key to usesecurity-group- Is the name or ID of the security group created previouslyuser-data- Is the file containing cloud-init user-data (this is optional in standalone scenarios)login1- Is the name of the system
-
-
Associate a floating IP, either by using an existing one or creating a new one
-
To use an existing floating IP
-
Identify the IP address of an available floating IP (
Portwill beNone)$ openstack floating ip list +---------------------+---------------------+------------------+---------------------+---------------------+-----------------------+ | ID | Floating IP Address | Fixed IP Address | Port | Floating Network | Project | +---------------------+---------------------+------------------+---------------------+---------------------+-----------------------+ | 726318f4-4dbb-4d51- | 10.199.31.6 | None | None | c681d94b-e2ec-4b73- | dcd92da7538a4f64a42b0 | | b119-d9e53c47a9f5 | | | | 89bf-9943bcce3255 | d4d9ce8845f | -
Associate the floating IP with the instance
$ openstack server add floating ip login1 10.199.31.6
-
-
To create a new floating IP
-
Create new floating IP and note the
floating_ip_address$ openstack floating ip create external1 -
Associate the floating IP with the instance (using the
floating_ip_addressfrom the previous output)$ openstack server add floating ip login1 10.199.31.212
-
-
Further detail on collecting the information from the above can be found in the Alces Cloud documentation.
To set up a cluster, you will need to import a Flight Solo image.
Before setting up a cluster on Alces Cloud, there are several required prerequisites:
- Your own keypair
- A network with a subnet and a router bridging the subnet to the external network
- A security group that allows traffic is given below (if creating the security group through the web interface then the "Any" protocol will need to be an "Other Protocol" rule with "IP Protocol" of
-1)
| Protocol | Direction | CIDR | Port Range |
|---|---|---|---|
| Any | egress | 0.0.0.0/0 | any |
| Any | ingress | Virtual Network CIDR | any |
| ICMP | ingress | 0.0.0.0/0 | any |
| SSH | ingress | 0.0.0.0/0 | 22 |
| TCP | ingress | 0.0.0.0/0 | 80 |
| TCP | ingress | 0.0.0.0/0 | 443 |
| TCP | ingress | 0.0.0.0/0 | 5900-5903 |
Note
The "Virtual Network CIDR" is the subnet and netmask for the network that the nodes are using. For example, a node on the 11.11.11.0 network with a netmask of 255.255.255.0 would have a network CIDR of 11.11.11.0/24.
To set up a cluster:
-
Go to the Alces Cloud instances page.

-
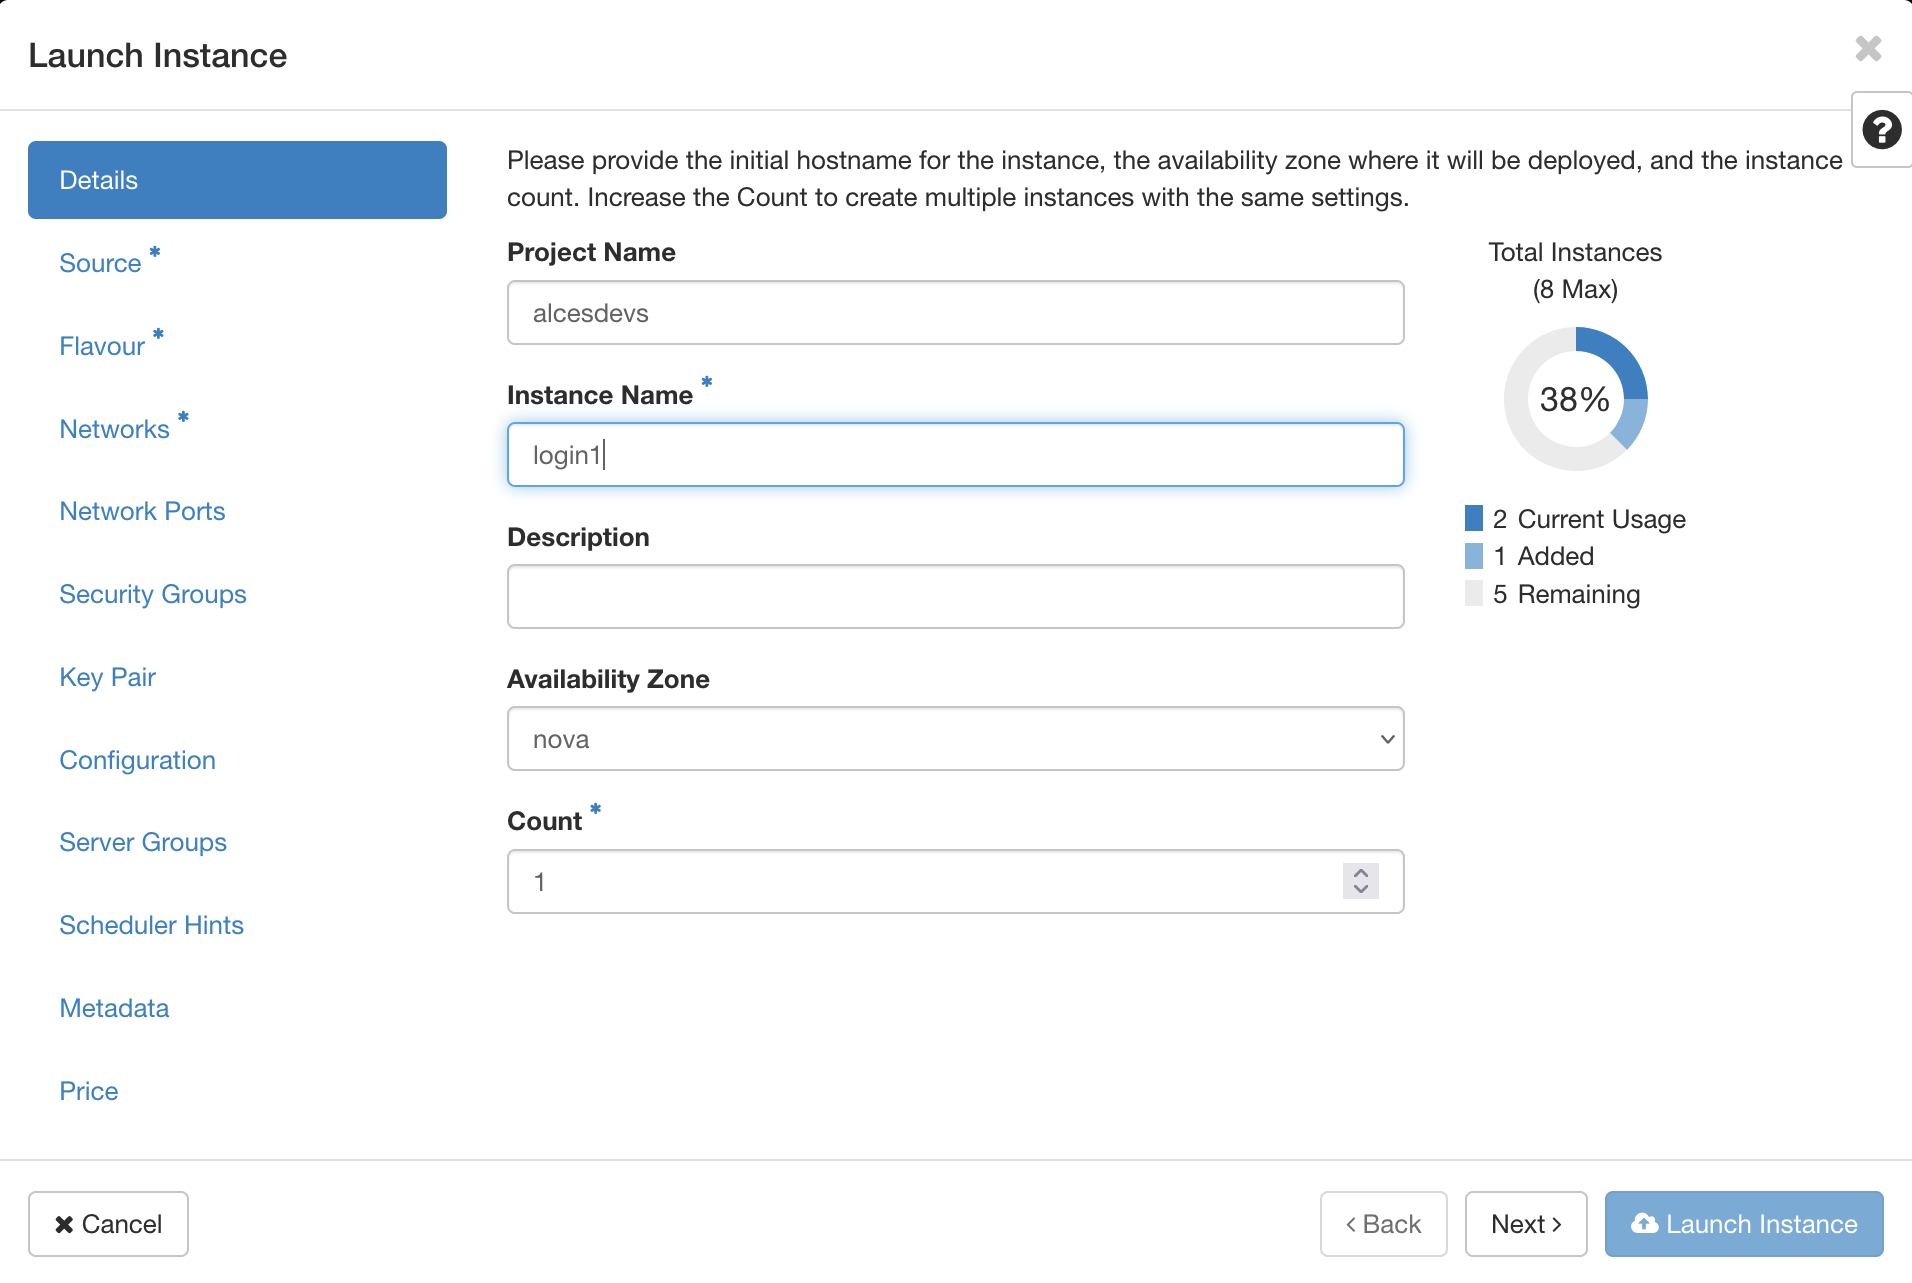
Click "Launch Instance", and the instance creation window will pop up.
-
Fill in the instance name, and leave the number of instances as 1, then click next.
-
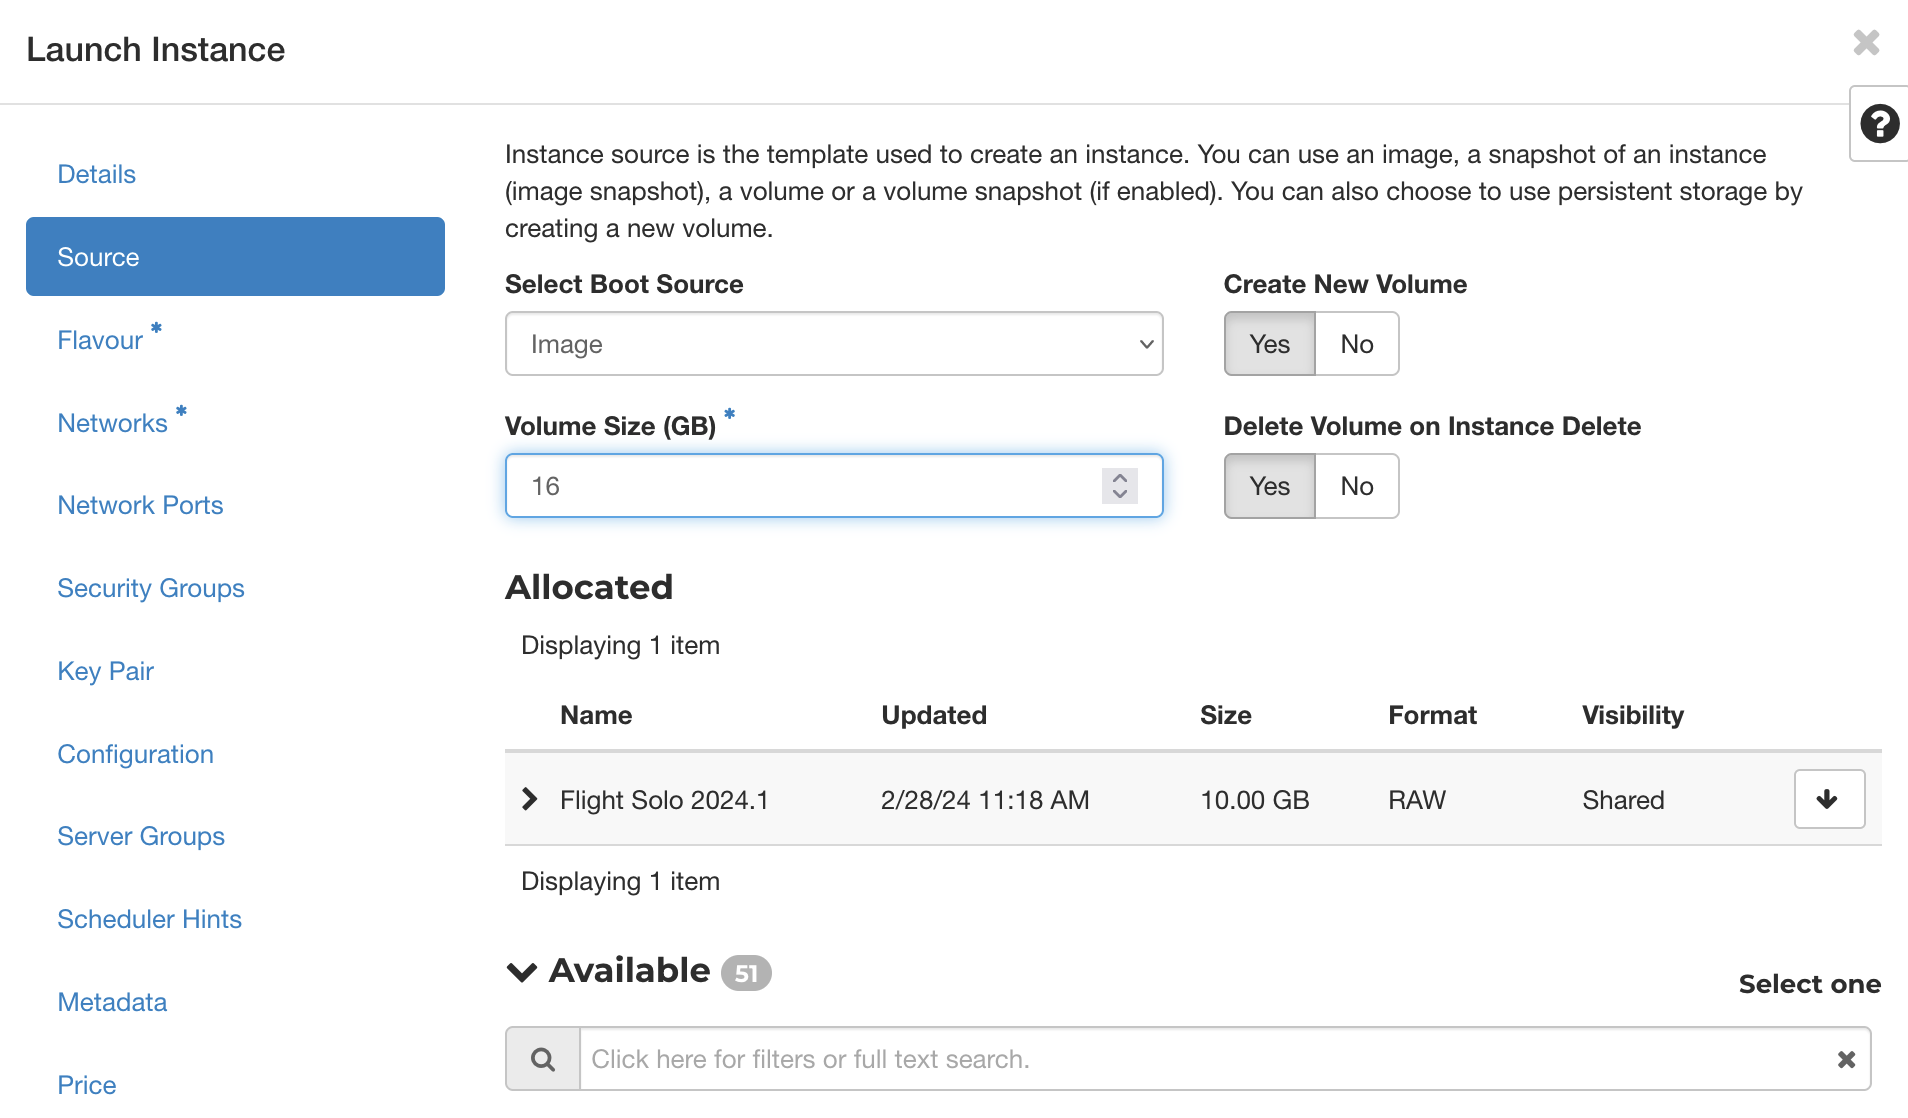
Choose the desired image to use by clicking the up arrow at the end of its row. It will be displayed in the "Allocated" section when selected.
-
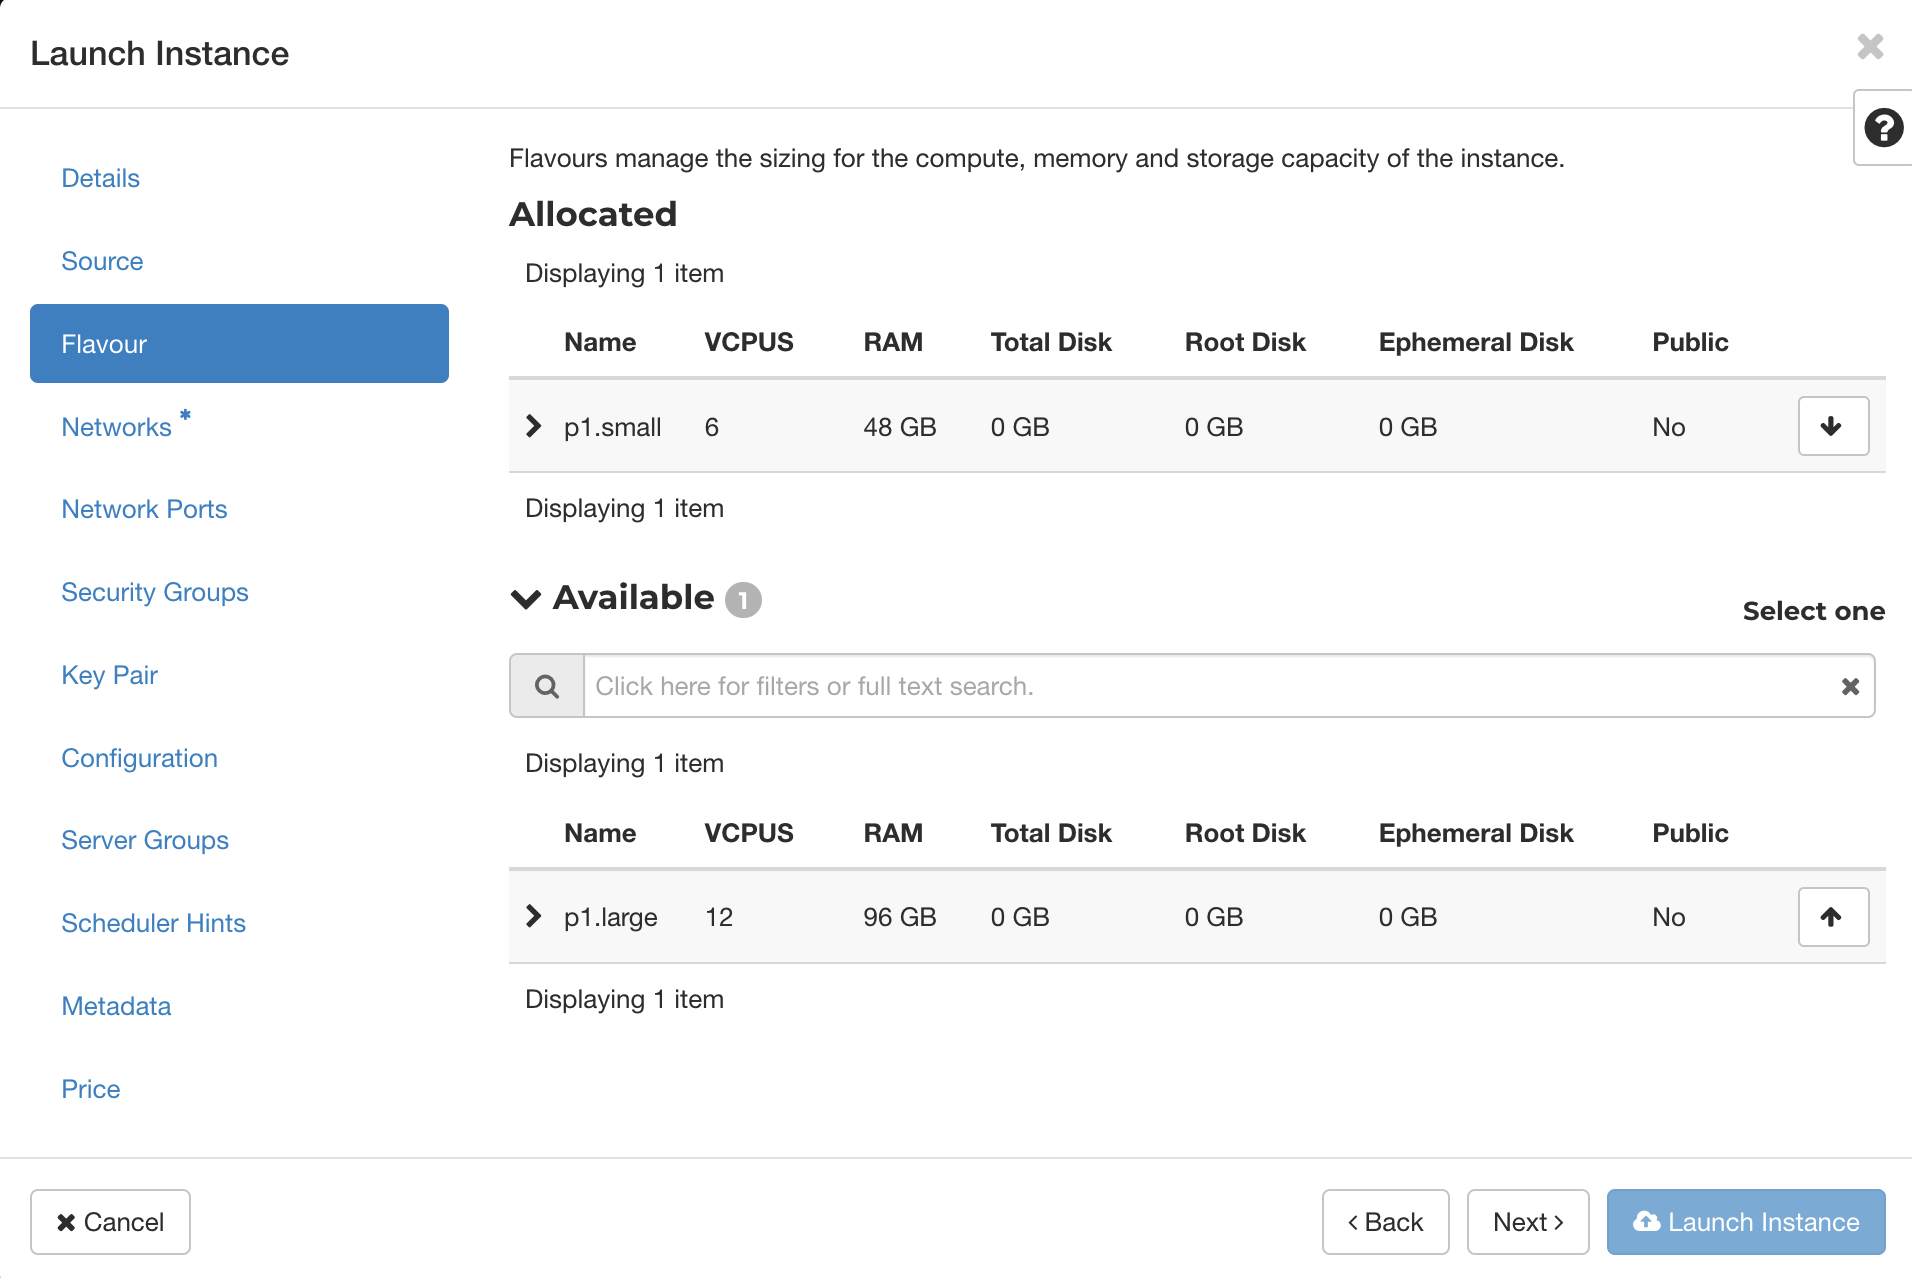
Choose the desired instance size by clicking the up arrow at the end of its row. It will be displayed in the "Allocated" section when selected.
-
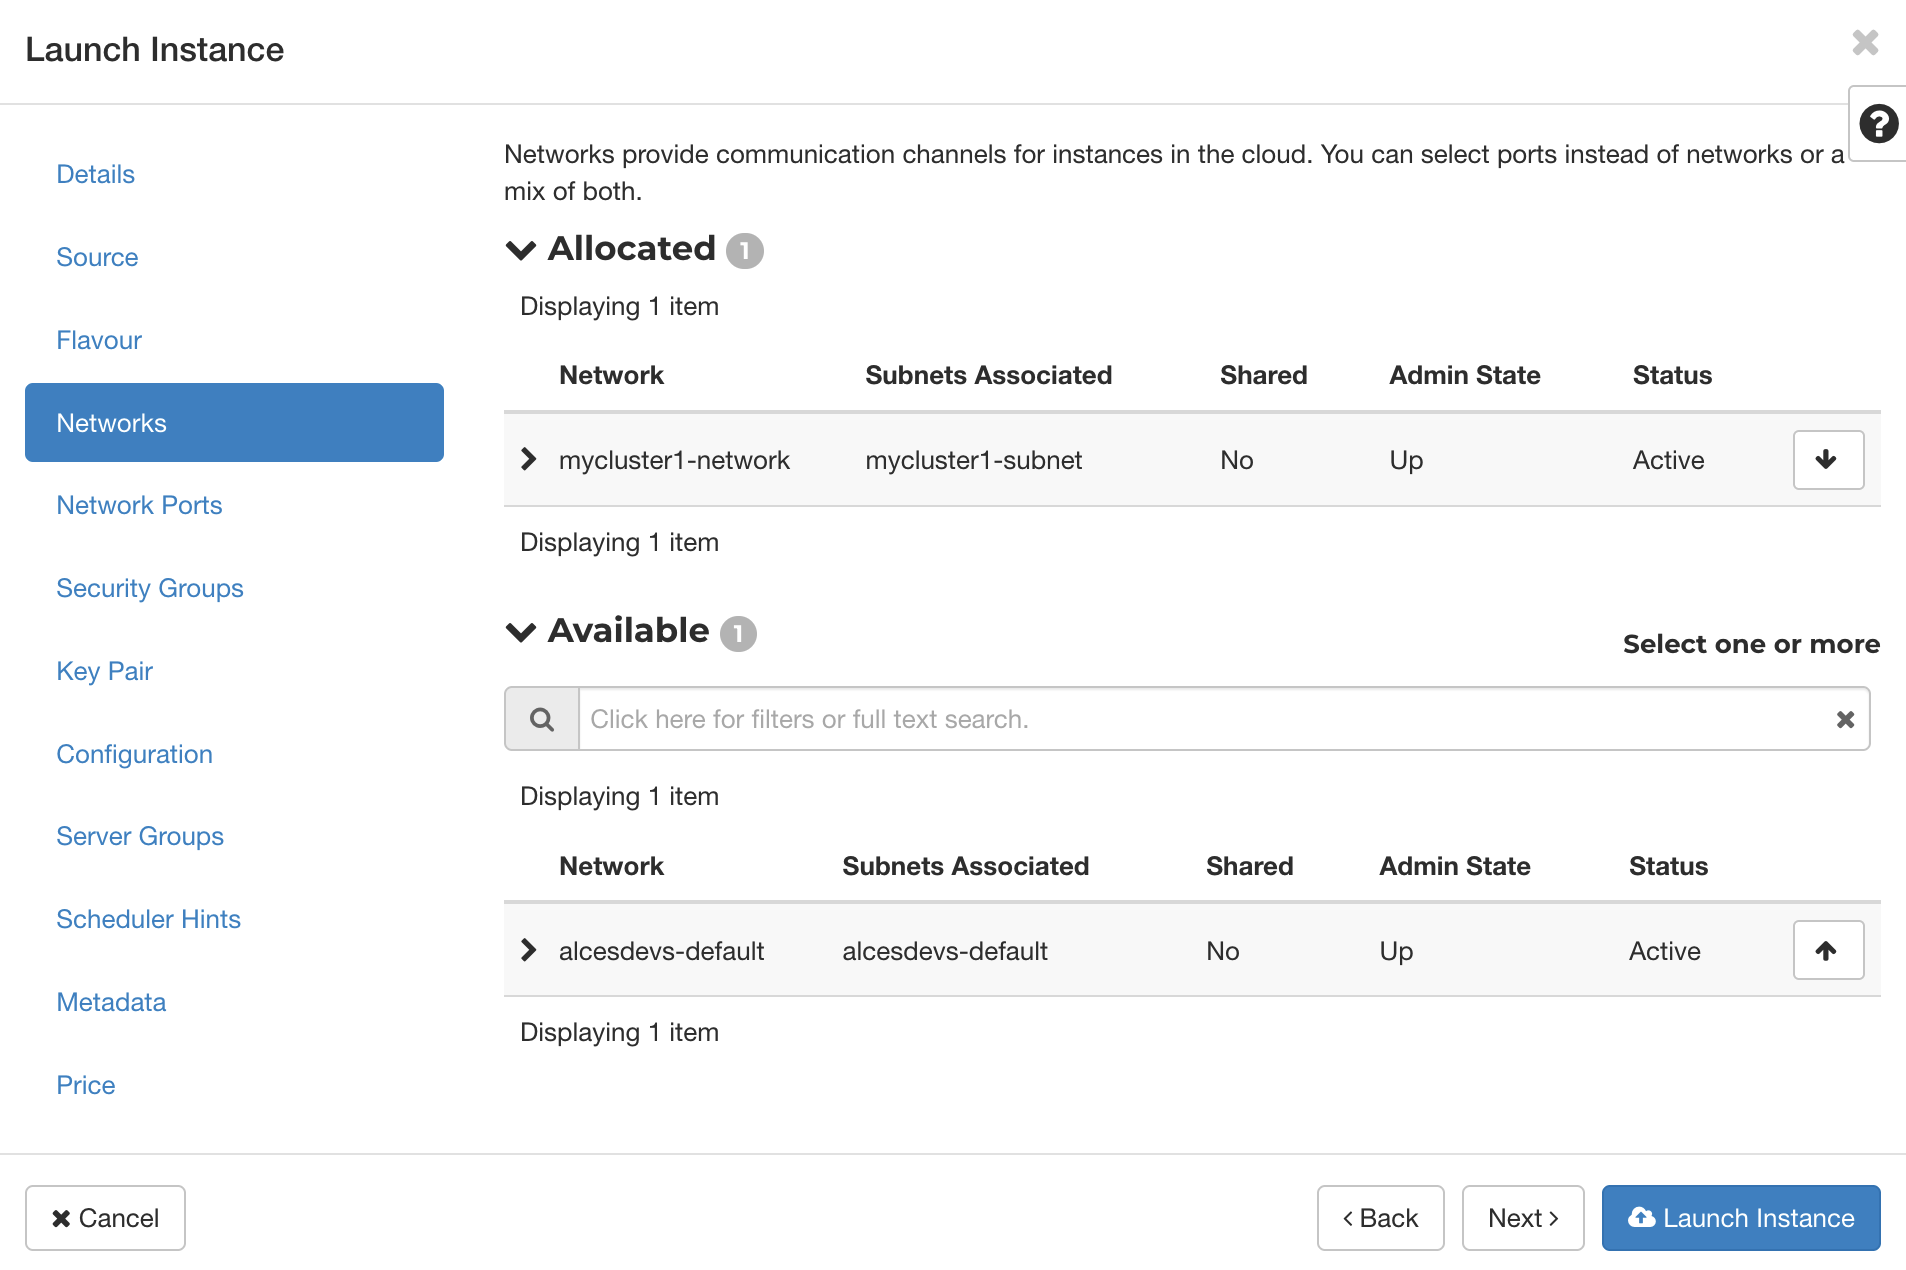
Choose a network in the same way as an image or instance size. Note that all nodes in a cluster must be on the same network.
-
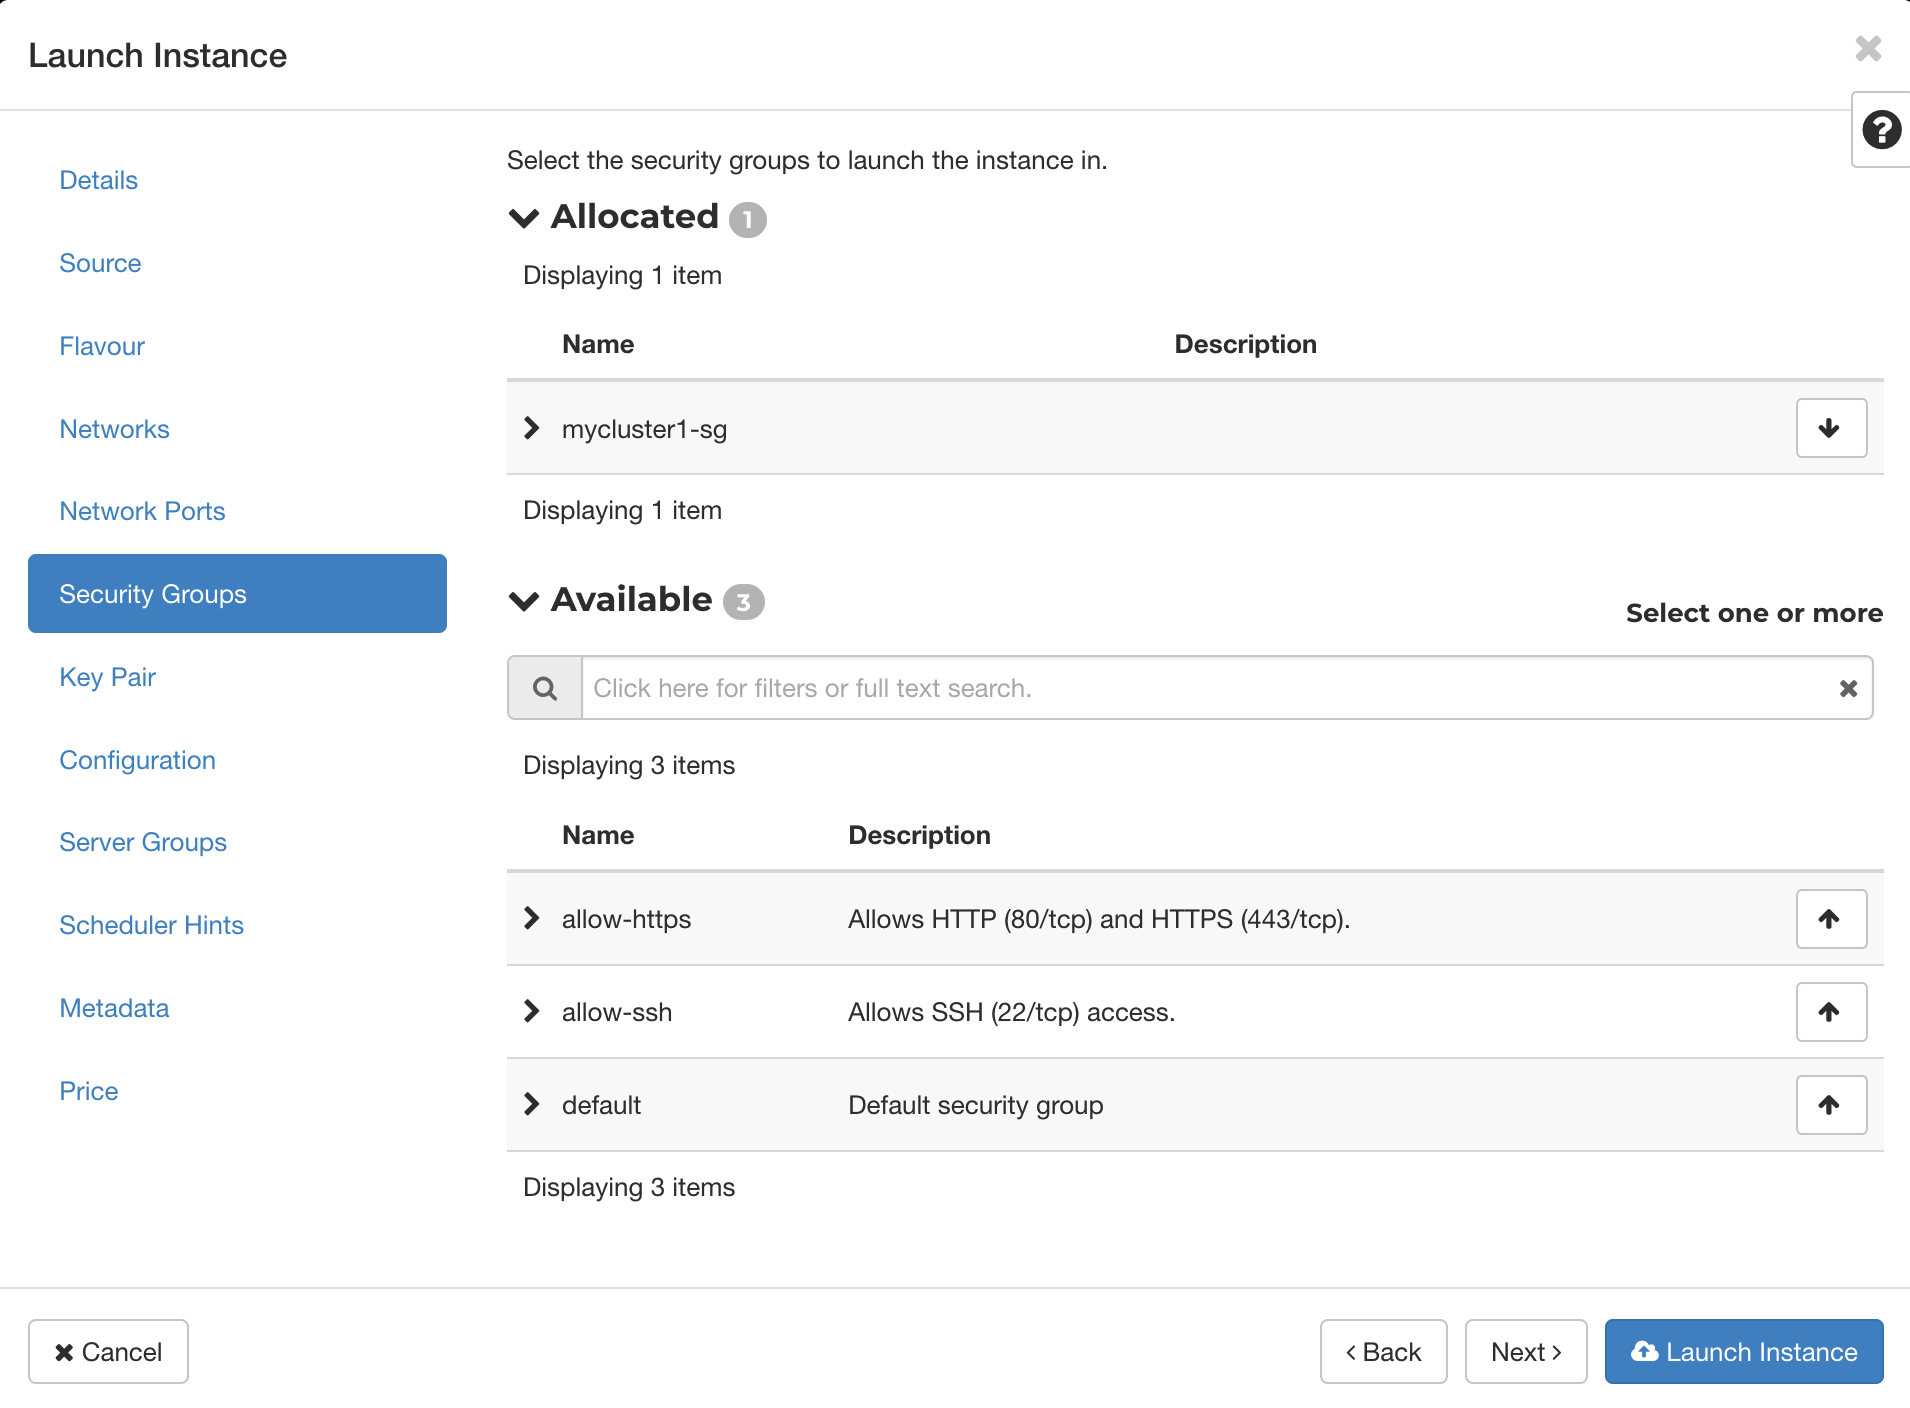
Choose a security group in the same way as an image or instance size. Note that all nodes in a cluster must be in the same security group.
-
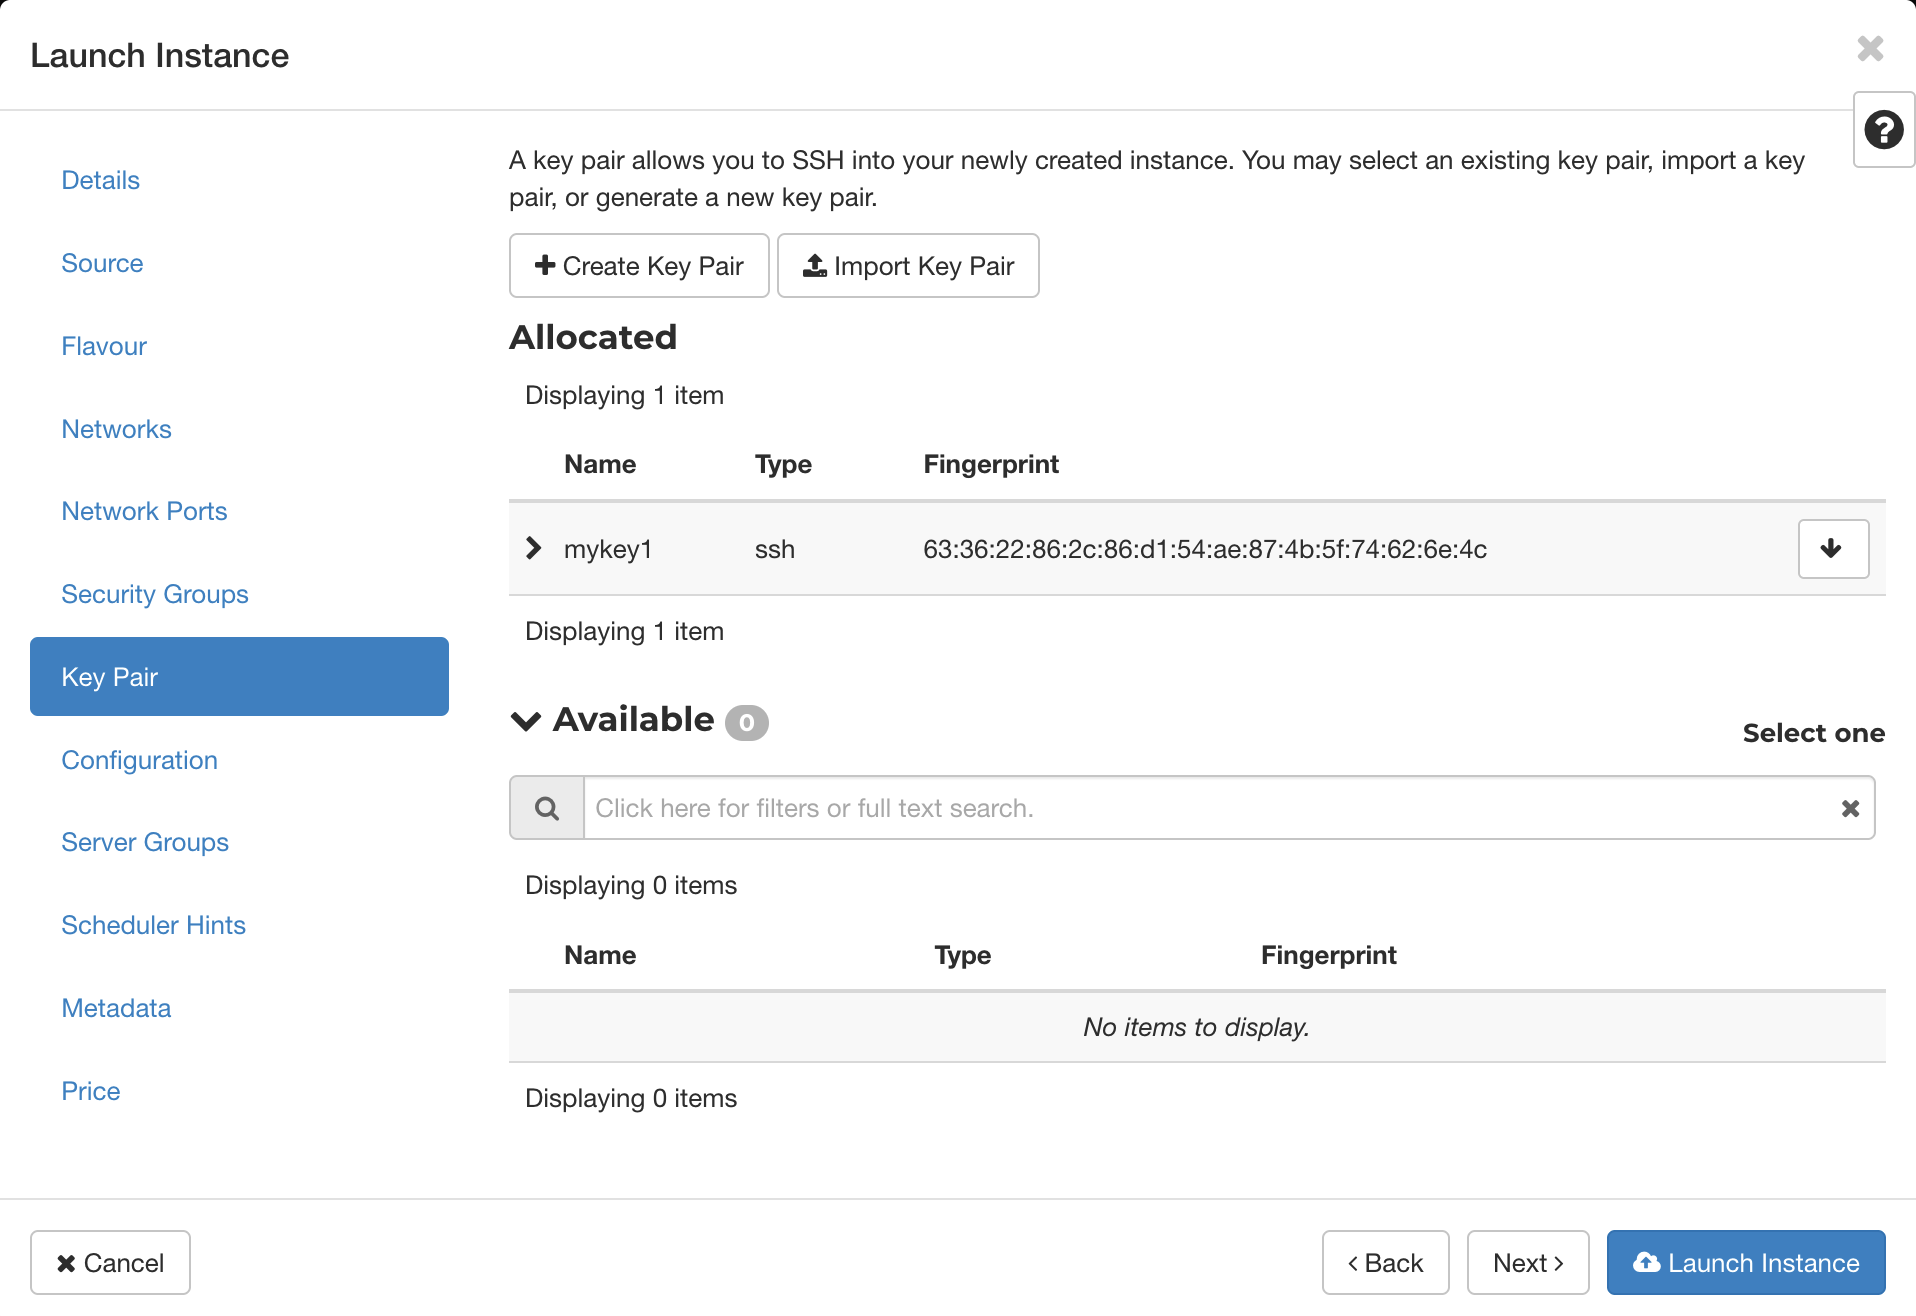
Choose the keypair in the same way as an image or instance size.
-
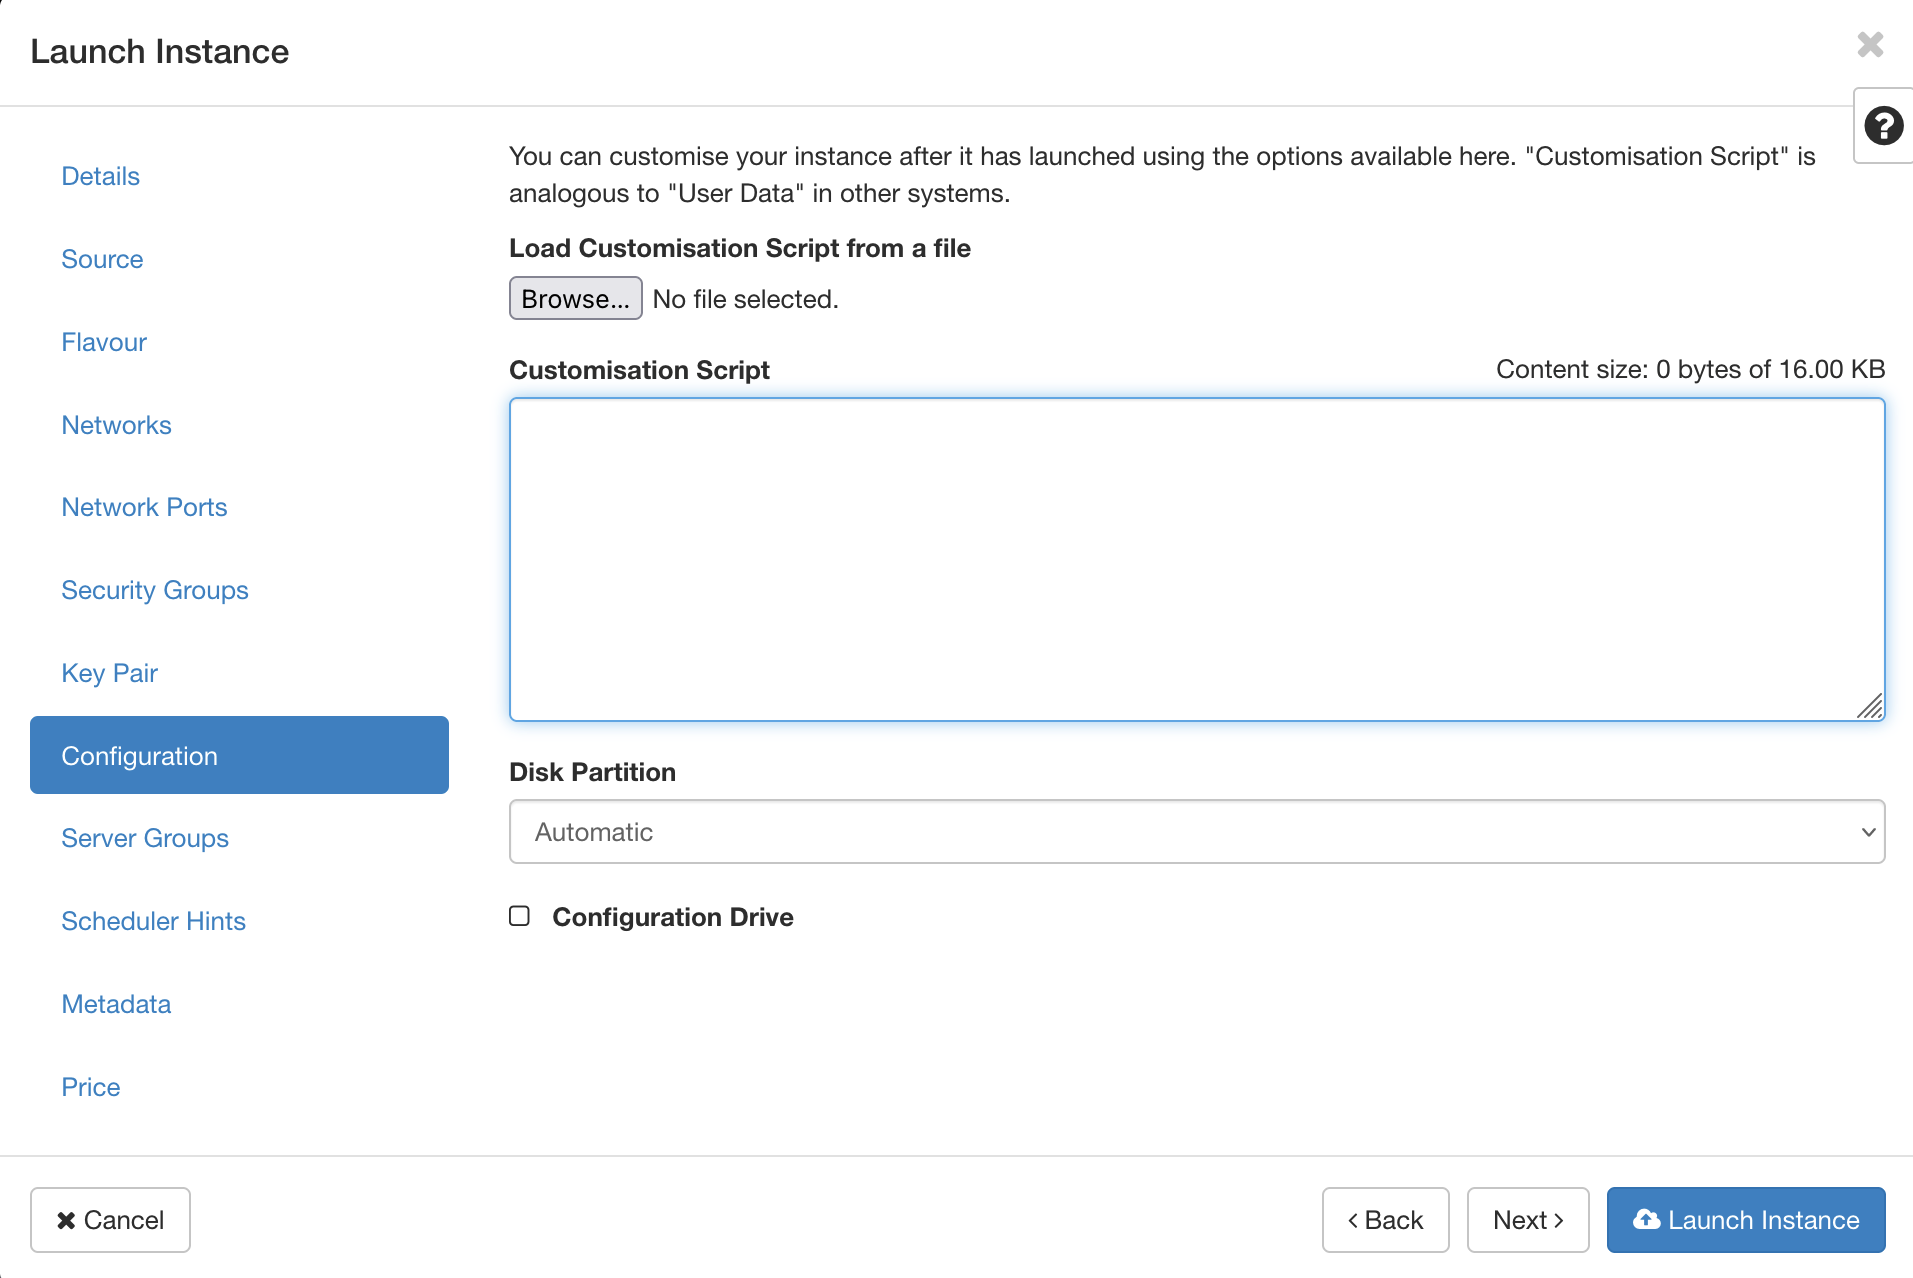
In the "Configuration" section, there is a "Customisation Script" section with a text box. This will be used to set your user data
-
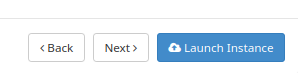
When all options have been selected, press the "Launch Instance" button to launch. If the button is greyed out, then a mandatory setting has not been configured.
-
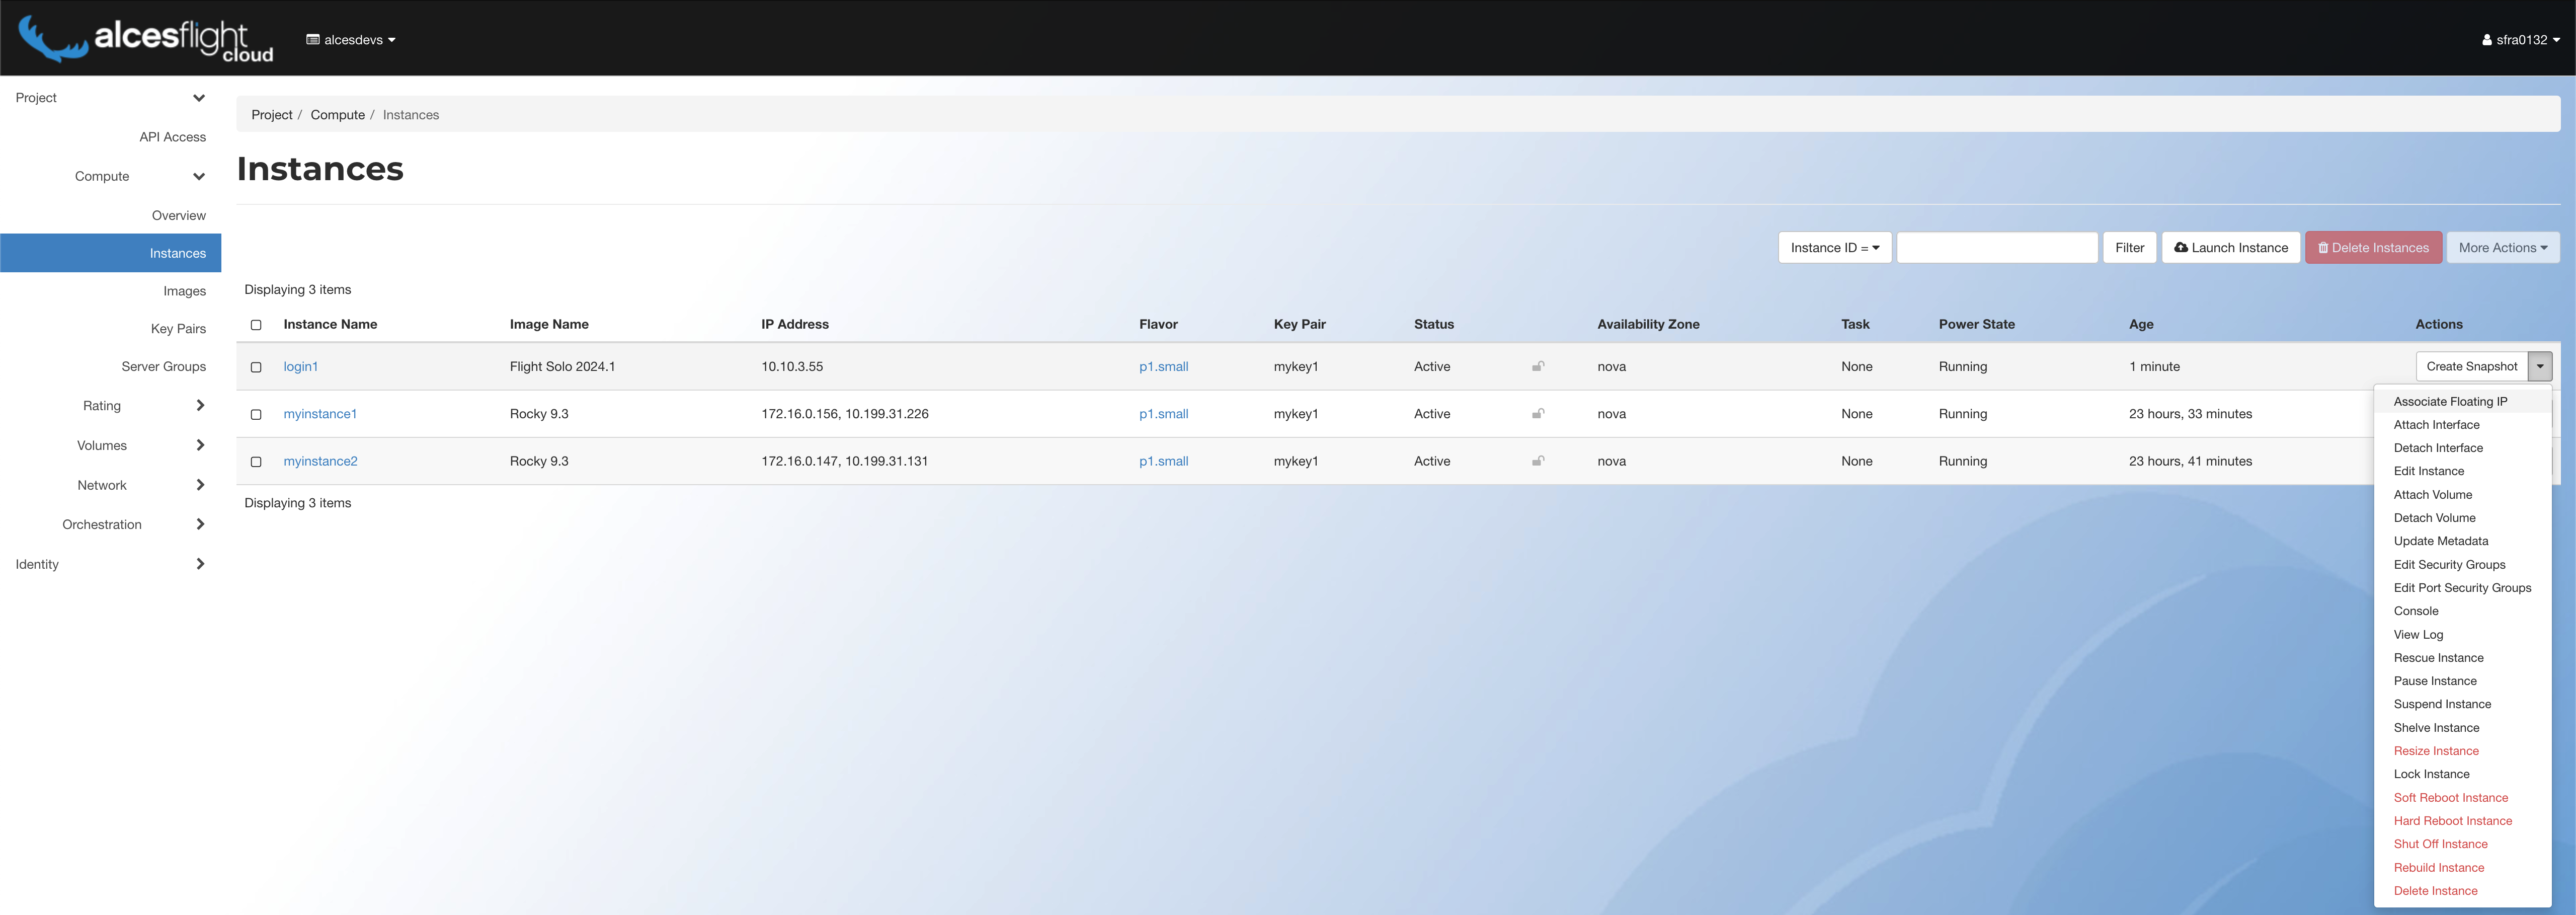
Go to the "Instances" page in the "Compute" section. The created node should be there and be finishing or have finished creation.
-
Click on the down arrow at the end of the instance row. This will bring up a drop-down menu.
-
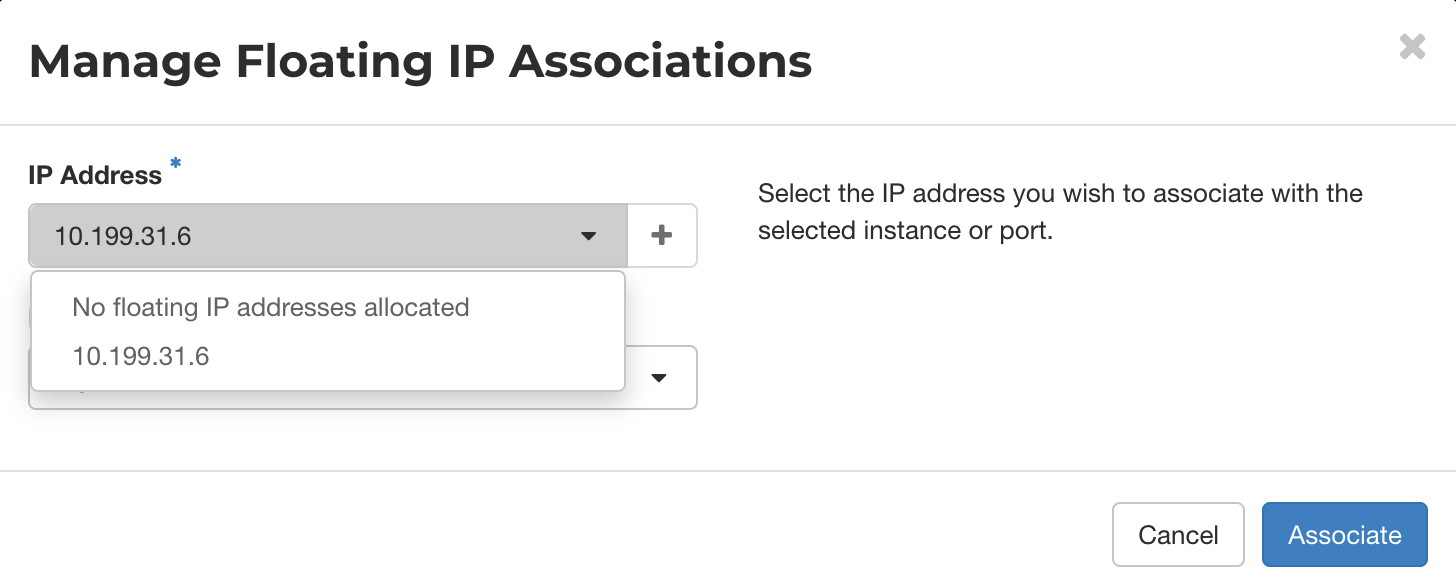
Select "Associate Floating IP", this will make the ip management window pop up.

-
Associate a floating IP, either by using an existing one or allocating a new one.
-
To use an existing floating IP:
-
Open the IP Address drop-down menu.
-
Select one of the IP Addresses.
-
Click "Associate" to finish associating an IP.
-
-
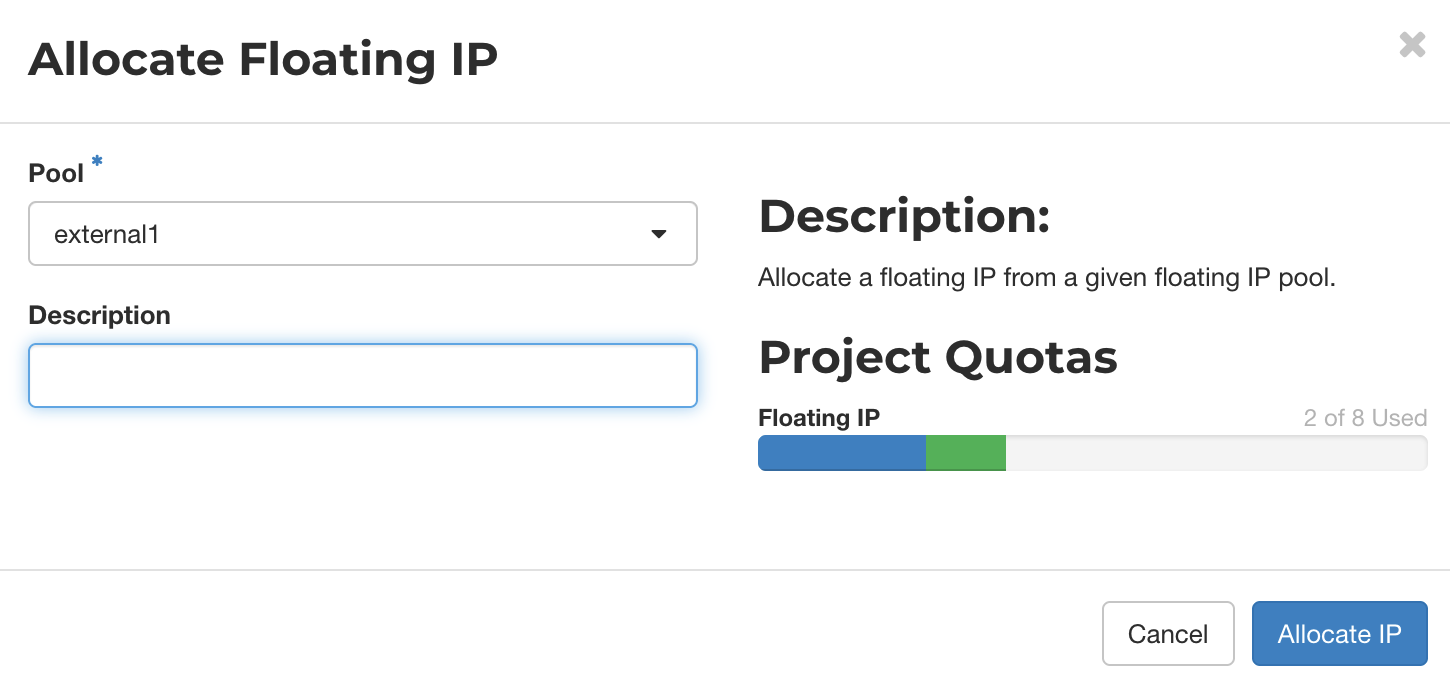
To allocate a new floating IP:
-
Click the "+" next to the drop-down arrow to open the allocation menu.
-
Click "Allocate IP".
-
-
-
Click "Associate" to finish associating an IP.
Further detail on collecting the information from the above can be found in the Alces Cloud documentation.
General Configuration
Create Node Inventory
-
Parse your node(s) with the command
flight hunter parse.-
This will display a list of hunted nodes, for example
[flight@login-node.novalocal ~]$ flight hunter parse Select nodes: (Scroll for more nodes) ‣ ⬡ login-node.novalocal - 10.10.0.1 ⬡ compute-node-1.novalocal - 10.10.101.1 -
Select the desired node to be parsed with Space, and you will be taken to the label editor
Choose label: login-node.novalocal -
Here, you can edit the label like plain text
Choose label: login1Tip
You can clear the current node name by pressing Down in the label editor.
-
When done editing, press Enter to save. The modified node label will appear next to the ip address and original node label.
Select nodes: login-node.novalocal - 10.10.0.1 (login1) (Scroll for more nodes) ‣ ⬢ login-node.novalocal - 10.10.0.1 (login1) ⬡ compute-node-1.novalocal - 10.10.101.1 -
From this point, you can either hit Enter to finish parsing and process the selected nodes, or continue changing nodes. Either way, you can return to this list by running
flight hunter parse. -
Save the node inventory before moving on to the next step.
Tip
See
flight hunter parse -hfor more ways to parse nodes.
-
Add genders
- Optionally, you may add genders to the newly parsed node. For example, in the case that the node should have the gender
clusterandallthen run the command:flight hunter modify-groups --add cluster,all login1
SLURM Standalone Configuration
-
Configure profile
flight profile configure- This brings up a UI, where several options need to be set. Use up and down arrow keys to scroll through options and enter to move to the next option. Options in brackets coloured yellow are the default options that will be applied if nothing is entered.
- Cluster type: The type of cluster setup needed, in this case select
Slurm Standalone. - Cluster name: The name of the cluster.
- Default user: The user that you log in with.
- Set user password: Set a password to be used for the chosen default user.
- IP or FQDN for Web Access: As described here, this could be the public IP or public hostname.
- Cluster type: The type of cluster setup needed, in this case select
- This brings up a UI, where several options need to be set. Use up and down arrow keys to scroll through options and enter to move to the next option. Options in brackets coloured yellow are the default options that will be applied if nothing is entered.
-
Apply an identity by running the command
flight profile apply, E.g.flight profile apply login1 all-in-oneTip
You can check all available identities for the current profile with
flight profile identities -
Wait for the identity to finish applying. You can check the status of all nodes with
flight profile list.Tip
You can watch the progress of the application with
flight profile view login1 --watch
Success
Congratulations, you've now created a SLURM Standalone environment! Learn more about SLURM in the HPC Environment docs.
Verifying Functionality
-
Create a file called
simplejobscript.sh, and copy this into it:#!/bin/bash -l echo "Starting running on host $HOSTNAME" sleep 30 echo "Finished running - goodbye from $HOSTNAME" -
Run the script with
sbatch simplejobscript.sh, and to test all your nodes try queuing up enough jobs that all nodes will have to run. -
In the directory that the job was submitted from there should be a
slurm-X.outwhereXis the Job ID returned from thesbatchcommand. This will contain the echo messages from the script created in step 1